A 404 page is what visitors see when they land on a broken or non-existent link on your website. Instead of showing a boring default error, why not design a branded, engaging page? With Elementor Pro, creating a custom 404 page is simple, flexible, and code-free.
In this guide, you’ll learn how to create a fully customized 404 page in Elementor Pro that improves user experience and keeps visitors engaged on your site.
What Is a 404 Page?
A 404 error page is shown when a user tries to access a page that doesn’t exist on your site—whether due to a broken link, deleted content, or mistyped URL. A good 404 page should:
- Inform the user that the page doesn’t exist
- Help them navigate back to working pages
- Reflect your brand’s tone and design
By default, most WordPress themes use a generic 404 page, which can be dull and unhelpful. That’s why creating a custom 404 page in Elementor Pro is a smart move.
Why Use Elementor Pro for Your 404 Page?
Elementor Pro’s Theme Builder allows you to override the default 404 page provided by your WordPress theme. With it, you can design a visually appealing and functional error page that matches the rest of your site—without touching any code.
Benefits of building a 404 page in Elementor Pro:
- Drag-and-drop design
- Add links, buttons, images, animations, and search bars
- Fully responsive on all devices
- Easy to publish and set site-wide
How to Create a Custom 404 Page in Elementor Pro
Follow these simple steps to design a powerful, user-friendly 404 page in Elementor Pro:
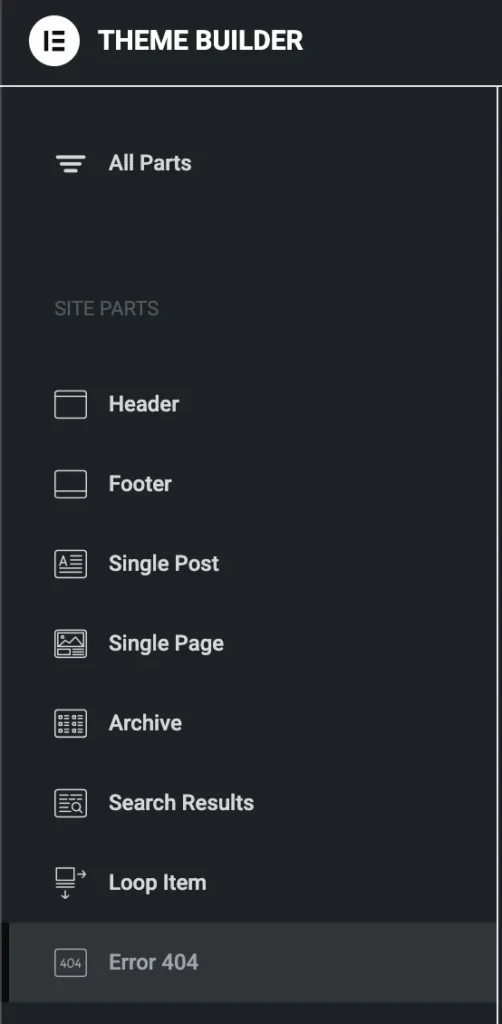
1. Open Elementor Theme Builder
- Go to your WordPress Dashboard.
- Navigate to: Templates → Theme Builder.
- Click on the “Error 404” tab or select Add New → 404 Page.

2. Create a New 404 Template
- Give your new template a name (e.g., “Custom 404 Page”).
- Click Create Template.
Elementor will offer pre-designed blocks you can use, or you can start from scratch.
- Elementor Pro
- Divi
- Essential Addon
- Templately
- WPForms
- Fluent Forms
- ACF Pro
- Prime Slider
- Woostify theme
3. Design Your 404 Page
Now the fun part—customize your page using Elementor’s widgets. Consider adding:
- A friendly message like “Oops! Page not found.”
- A call-to-action button to go back to the homepage
- A search bar so users can find what they’re looking for
- Popular pages or recent posts
- Your site’s navigation menu
Pro Tip: Use imagery, animations, or humor to make the 404 experience less frustrating for visitors.
4. Style It Your Way
Use Elementor’s styling tools to match the page with your site’s branding. Adjust fonts, colors, layout spacing, and responsive settings for mobile and tablet views.
5. Set Display Conditions
Once you’re happy with your design, click Publish. Elementor will ask where you want this template to be applied.
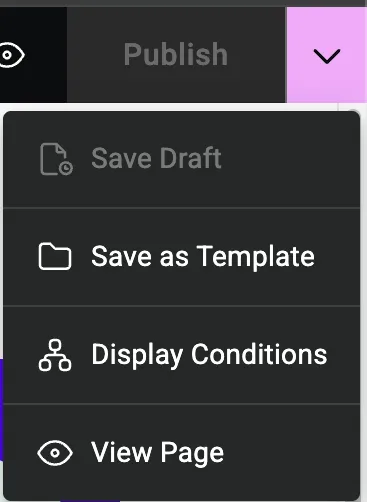
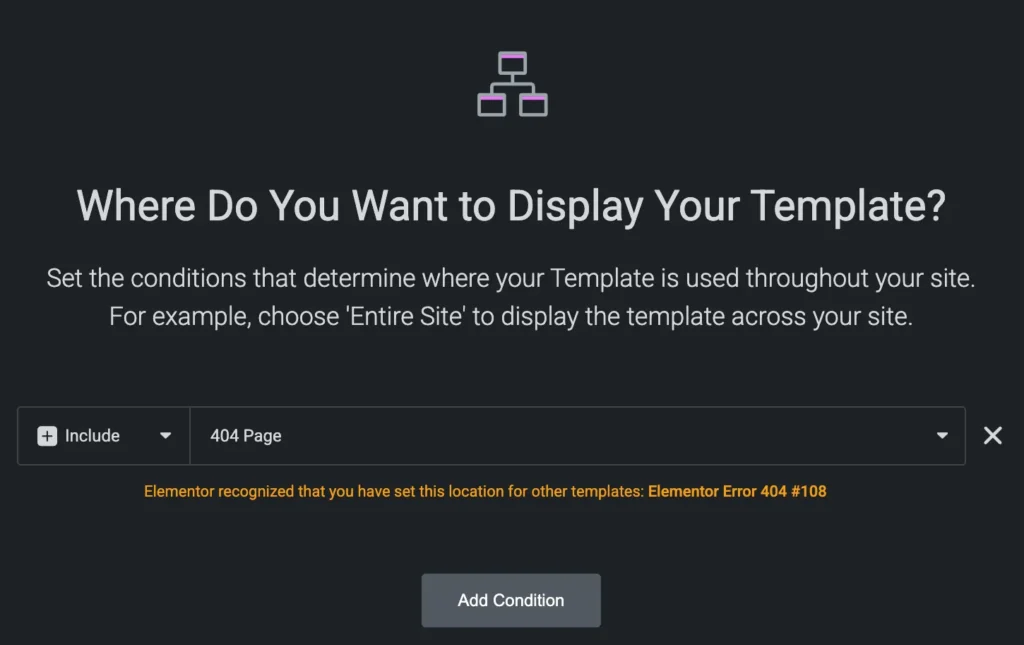
- Set the Display Condition to 404 Page.
- Save and close.
That’s it! Your custom 404 page in Elementor Pro is now live.
Tips for a High-Converting 404 Page
- Be Clear & Friendly: Let users know the page is missing—but do it with personality.
- Offer Navigation: Help users get back on track quickly.
- Include a Search Option: Let them search for what they need.
- Add CTAs: Suggest visiting your homepage or top pages.
- Keep It On-Brand: Match the tone and style of your overall website.
Conclusion
Designing a custom 404 page in Elementor Pro is a simple yet powerful way to improve your website’s user experience. Instead of letting visitors land on a bland, frustrating error page, you can guide them back to valuable content with a professionally designed, on-brand message. With Elementor Pro’s Theme Builder, you have full creative control to turn a dead end into a new opportunity—no coding required.
Whether you’re showcasing links, adding a search bar, or simply injecting some personality into your error page, creating a custom 404 page helps keep users engaged and encourages them to stay on your site longer.


