How to Design Archive Page in Elementor Pro is a question many WordPress users ask when they want more control over how their blog posts, categories, or custom post types are displayed. By default, WordPress applies a standard layout to archive pages, which often lacks the customization and branding needed for a professional-looking site. With Elementor Pro, you can break free from these limitations and create archive pages that are visually compelling, user-friendly, and fully aligned with your site’s design.
In this guide, we’ll walk you through everything you need to know about how to design a custom archive page in Elementor Pro—from setting up your template and choosing the right widgets, to applying dynamic content and fine-tuning layout settings. Whether you’re building a blog, portfolio, or online shop, this tutorial will help you deliver a polished and personalized browsing experience to your visitors.
Understanding WordPress Archive Pages
In WordPress, archive pages display groups of content based on specific criteria, such as:
- Categories: Posts grouped under a particular category.
- Tags: Posts associated with specific tags.
- Date Archives: Posts published within a specific time frame.
- Author Archives: Posts authored by a particular user.
- Search Results: Posts that match a user’s search query.
- Custom Post Types: Content types like portfolios, testimonials, or events.
By default, WordPress applies a standard template to these archive pages. However, Elementor Pro allows you to override this default and design custom archive templates that provide a unique user experience.
Steps to Create a Custom Archive Page
1. Set Up the Archive Page in WordPress
Before diving into Elementor:


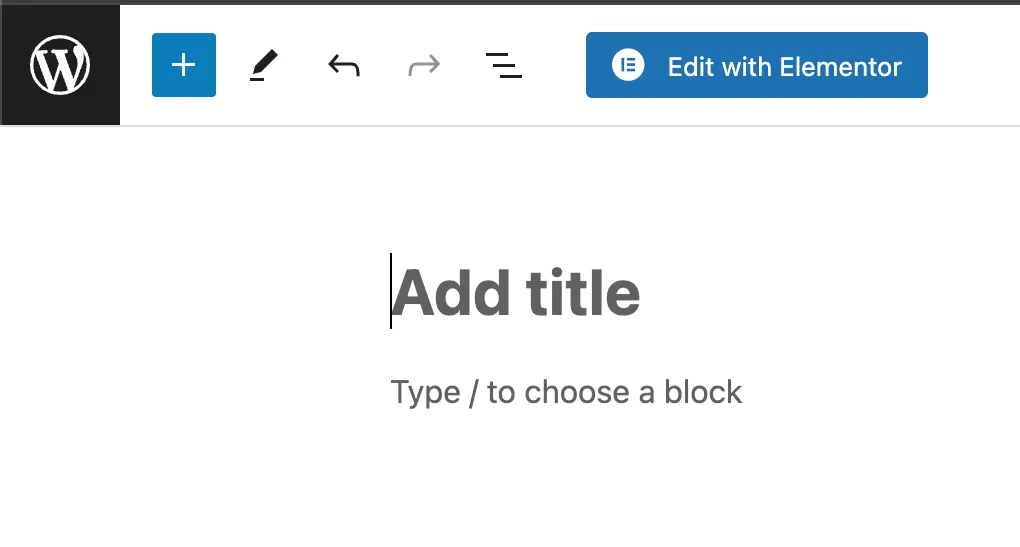
- Navigate to Pages > Add New in your WordPress dashboard.
- Title the page (e.g., “Blog”).
- Publish the page.
Then, assign this page as your posts page:
- Go to Settings > Reading.
- Under Your homepage displays, select A static page.
- For Posts page, choose the blank page you just created.
- Save Changes
2. Create a New Archive Template in Elementor Pro
With Elementor Pro, you can design a custom archive template:


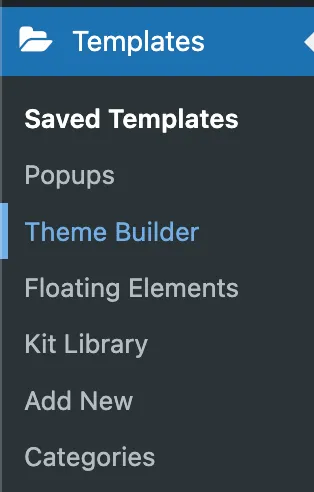
- Navigate to Templates > Theme Builder.
- Click on Add New, select Archive, and name your template (e.g., “Custom Blog Archive”).
- Click Create Template.
Elementor will open the editor, allowing you to design your archive page. You can choose to start from scratch or insert a pre-designed block.
3. Design the Archive Layout
Utilize Elementor’s widgets to craft your desired layout:

- Archive Posts Widget: Displays a list of posts from the current archive.
- Archive Title Widget: Shows the title of the current archive (e.g., “Category: News”).
- Archive Description Widget: Provides a description of the current archive.
- Pagination Widget: Allows users to navigate through multiple pages of posts.
Customize each widget’s settings to match your design preferences. For instance, adjust the number of columns in the Archive Posts widget, or style the typography and colors to align with your brand.
4. Set Display Conditions
After designing your archive template, it’s crucial to set display conditions to determine where the template appears:
- Click Publish.
- In the Display Conditions window, click Add Condition.
- Choose where you want the template to be applied (e.g., All Archives, Specific Categories, Custom Post Types).
- Click Save & Close.
This ensures your custom archive template is applied to the appropriate pages on your site.
5. Enhance with Dynamic Content
To make your archive pages more engaging, consider adding dynamic content:
- Custom Fields: Use plugins like Advanced Custom Fields (ACF) to add custom fields to your taxonomies.
- Dynamic Tags: Incorporate dynamic tags to display custom field values, such as unique images or descriptions for each category.
- Listing Grid: Utilize the Listing Grid widget to showcase items like portfolio projects or products in a grid layout.
By integrating dynamic content, you can create personalized and interactive archive pages that resonate with your audience.
Best Practices for Custom Archive Pages
- Consistent Branding: Ensure your archive pages align with your site’s overall branding, including colors, typography, and imagery.
- User Experience: Design intuitive navigation with clear categories, filters, and pagination to enhance user experience.
- Mobile Responsiveness: Optimize your archive pages for mobile devices to ensure accessibility across all platforms.
- SEO Optimization: Use SEO-friendly practices, such as descriptive titles and meta descriptions, to improve search engine rankings.
Conclusion
Designing a custom archive page in Elementor Pro not only enhances the visual appeal of your website but also improves user experience by presenting content in a structured, intuitive, and engaging way. With the powerful features of Elementor’s Theme Builder, you can easily create archive templates tailored to specific categories, tags, post types, or author archives — all without writing a single line of code.
From setting up your template and choosing the right widgets, to applying dynamic content and customizing design elements, Elementor Pro gives you full creative control. Whether you’re running a blog, an online store, or a portfolio, custom archive pages ensure that visitors can easily explore and discover your content.
By following the steps outlined in this guide and applying best practices for responsive design and SEO, you’ll be able to build archive pages that not only look great but function seamlessly across all devices. The result? A more professional, user-friendly site that keeps visitors engaged and encourages deeper content exploration.
Ready to elevate your website’s structure and style? Dive into Elementor Pro and start creating archive pages that reflect your brand and content strategy — beautifully and efficiently.


